

Vehicle Wheels and Body
This page works through creating a full 3D racing game step-by-step
Adding in your car
Godot Documentation for nodes discussed in this section: VehicleBody3D, VehicleWheel3D
Click on the '+' button to create a new scene, and name it car.tscn.
The Vehicle Body
Add a child VehicleBody3D node.
Change its Mass to 200kgs.
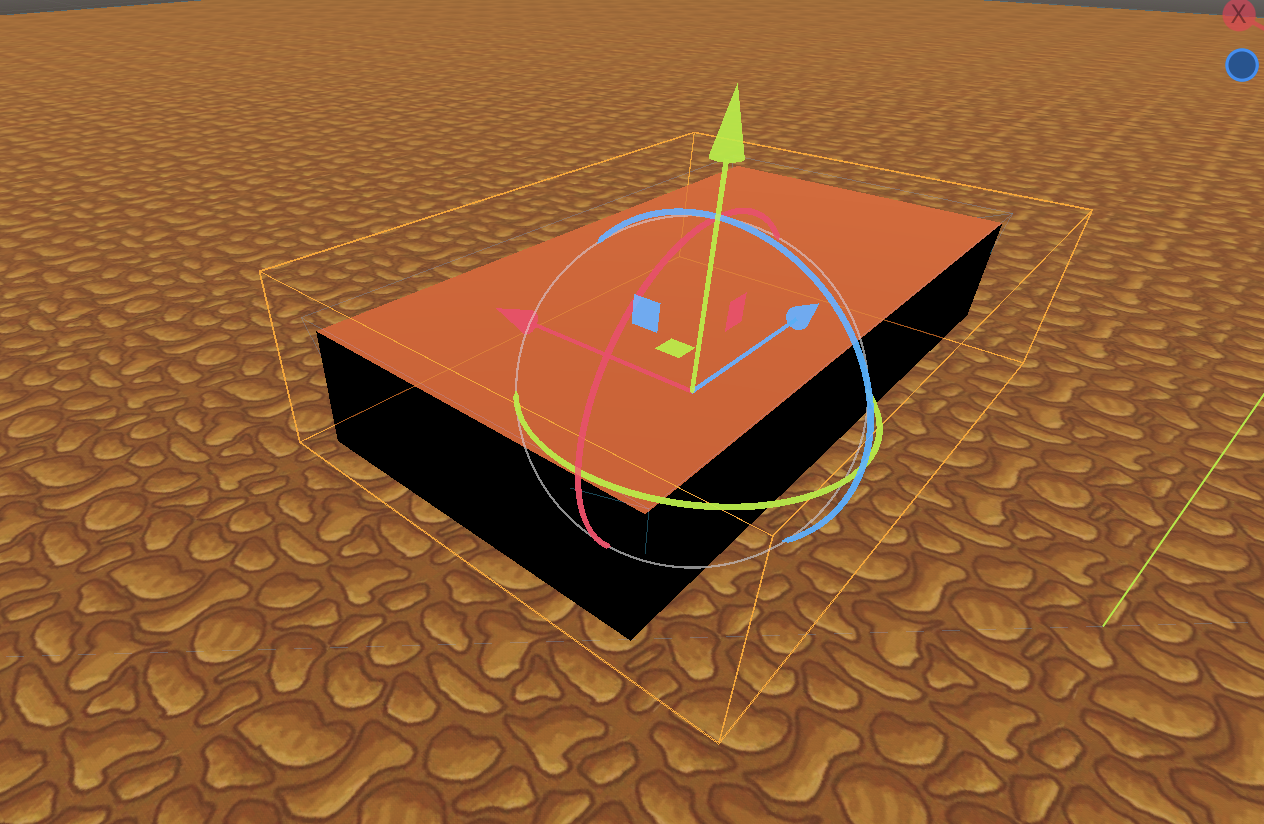
Add a MeshInstance3D and make a New BoxMesh. Change this to a car shape (my Size is (1.5, 0.5, 3)).
On the menu bar Mesh button, create a collision shape. But this time,
Collision shape placement is
Sibling. This is because the car needs to not be static.Collision Shape Type is
Simplified Convex.To change the colour of your car, go MeshInstance3D > Mesh > Material > New StandardMaterial3D > Albedo and change the colour.
Save your scene.
In your main scene with the ground, drag your saved car scene into the Ground (the top) node.
Current Look
The Vehicle Wheels
- Add a child VehicleWheel3D node to VehicleBody3D and rename it to "FrontLeftWheel".
- Using the X, Y, Z axes adjust the wheel location to be just outside the vehicle body.
- In the Inspector:
- Under VehicleBody3D Motion tick
- Use as Steering (as we want the front wheels to steer).
- Under Wheel change the Roll Influence to 1.0 (to keep the car from flipping over) Radius to 0.4m and Friction Slip to 4 (1 is normal grip, higher means more grip).
- Under Suspension set Stiffness to 50 (or a value between 50 and 100 for a race car).
- Under Damping set Compression to 0.5 (0.0 will make the car bounce through its' springs, we want less bounce for a race car).
- Under VehicleBody3D Motion tick
- Add a child MeshInstance3D node and create a New CylinderMesh.
- By clicking on the mesh instance, change the Top & Bottom Radius to the same as the Wheel Radius (0.4m).
- Change the Height to 0.3m.
- Under the MeshInstance3D > Tranform, set the Rotation z to 90 degrees.
- Duplicate this wheel (CTRL/CMD D). Under the Transform tab, change the x-position to the negation of the current number. Rename it to "FrontRightWheel".
- Select both these wheels and duplicate again, this time changing the z-position to its' negation. Rename them to "BackRightWheel" and "BackLeftWheel".
- Set the back wheels' VehicleBody3D Motion to tick
- Use as Traction (as we want the back wheels to accelerate).
Current Look
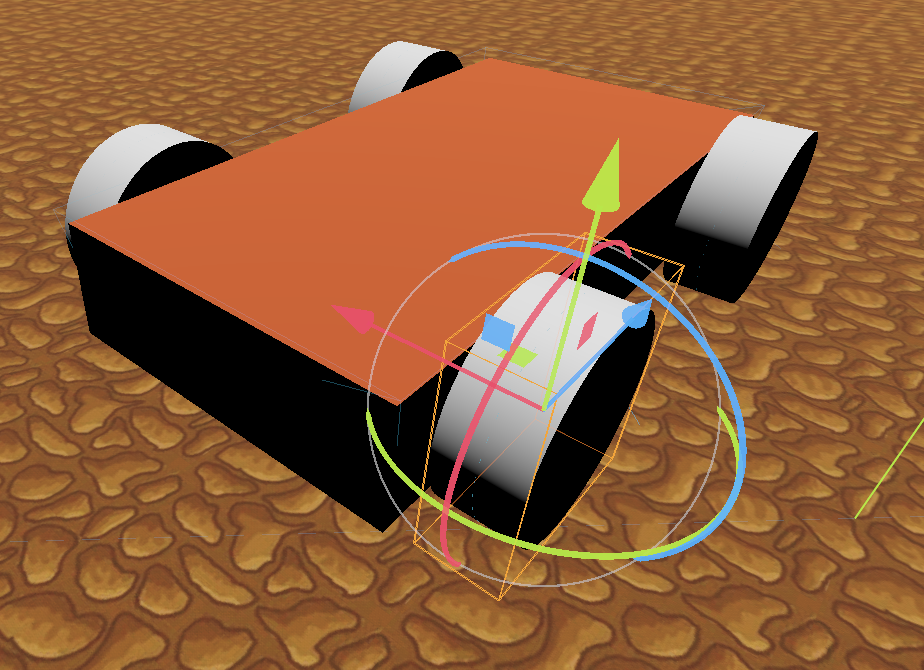
- I have a car body and four wheels.
- I understand how I can change the VehicleBody3D and VehicleWheel3D in the Inspector to suit my liking (e.g., if I want my wheels to be a different colour, or if I want the front wheels to accelerate too).